Exporting XML source from RobotStudio
Learn how to export a SmartComponent from a RobotStudio station and continue development in Visual Studio, where you can implement behaviour using Code Behind. The exported .rsxml file will be added to a new VisualStudio project based on the SmartComponent project template where it will be built by the LibraryCompiler using a Post-build step.
You can benefit from development in Visual Studio when:
You need the flexibility of implementing behaviour using .NET and Code Behind.
You want to build from the command line.
Your component has many child components and complex connections and bindings.
Instructions
Open RobotStudio and create an empty station.
Load the SmartComponent library file (.rslib). Let's assume it's named MyComponent. Locate it in the Layout Browser and right click on it. Select Disconnect Library from the context menu.
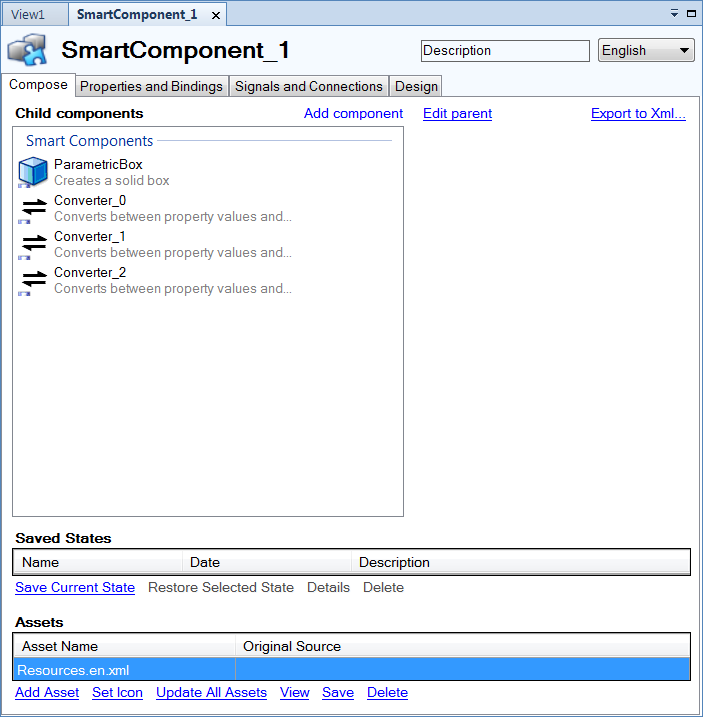
Right-click the SmartComponent again and select Edit Component. The SmartComponent Editor window will open.
Select the Export to Xml... option, located in the far-right section of the Compose tab and specify a file name and location. Let's use ExportFolder\MyComponent.rsxml. Besides the expected .rsxml file you will also find the folder MyComponent_Files, which contains additional assets of the library, such as geometry files.
Open Visual Studio and select Create a new project. Use the SmartComponent template from RobotStudio SDK to create a new project. For simplicity, name the project after the SmartComponent.
Note
In cases where Visual Studio is installed after RobotStudio or the RobotStudio SDK, the SmartComponent template will not be available. Reinstalling the RobotStudio SDK solves this issue.
Open the MyComponent.rsxml file and copy its entire content. Open the file MyComponent.xml from the Visual Studio project and locate the
<SmartComponent>element. Replace this element with the<SmartComponent>element from the clipboard. Do the same with the MyComponent.Resources.en.xml file, located in the folder MyComponent_Files. Replace the<SmartComponent>in the MyComponent.en.xml file in Visual Studio with the content from the MyComponent.Resources.en.xml file.Modify the
<Assets>element in MyComponent.xml to point to MyComponent.en.xml instead of MyComponent.Resources.en.xml. Make sure any other asset paths point to the correct location.At this stage, it is possible to compile the component using Visual Studio. Now you can modify and add more functionality by editing the CodeBehind.cs file in the Visual Studio project.
